Texture boards

For quite some time I experimented and played with materials to see what I could do with the essence of a chain, which in turn helped me to develop it further.

  I like the way the light shone through the paper and distorted the paper chain’s shadow.  I like how the close up of the paper chain merges it all together.
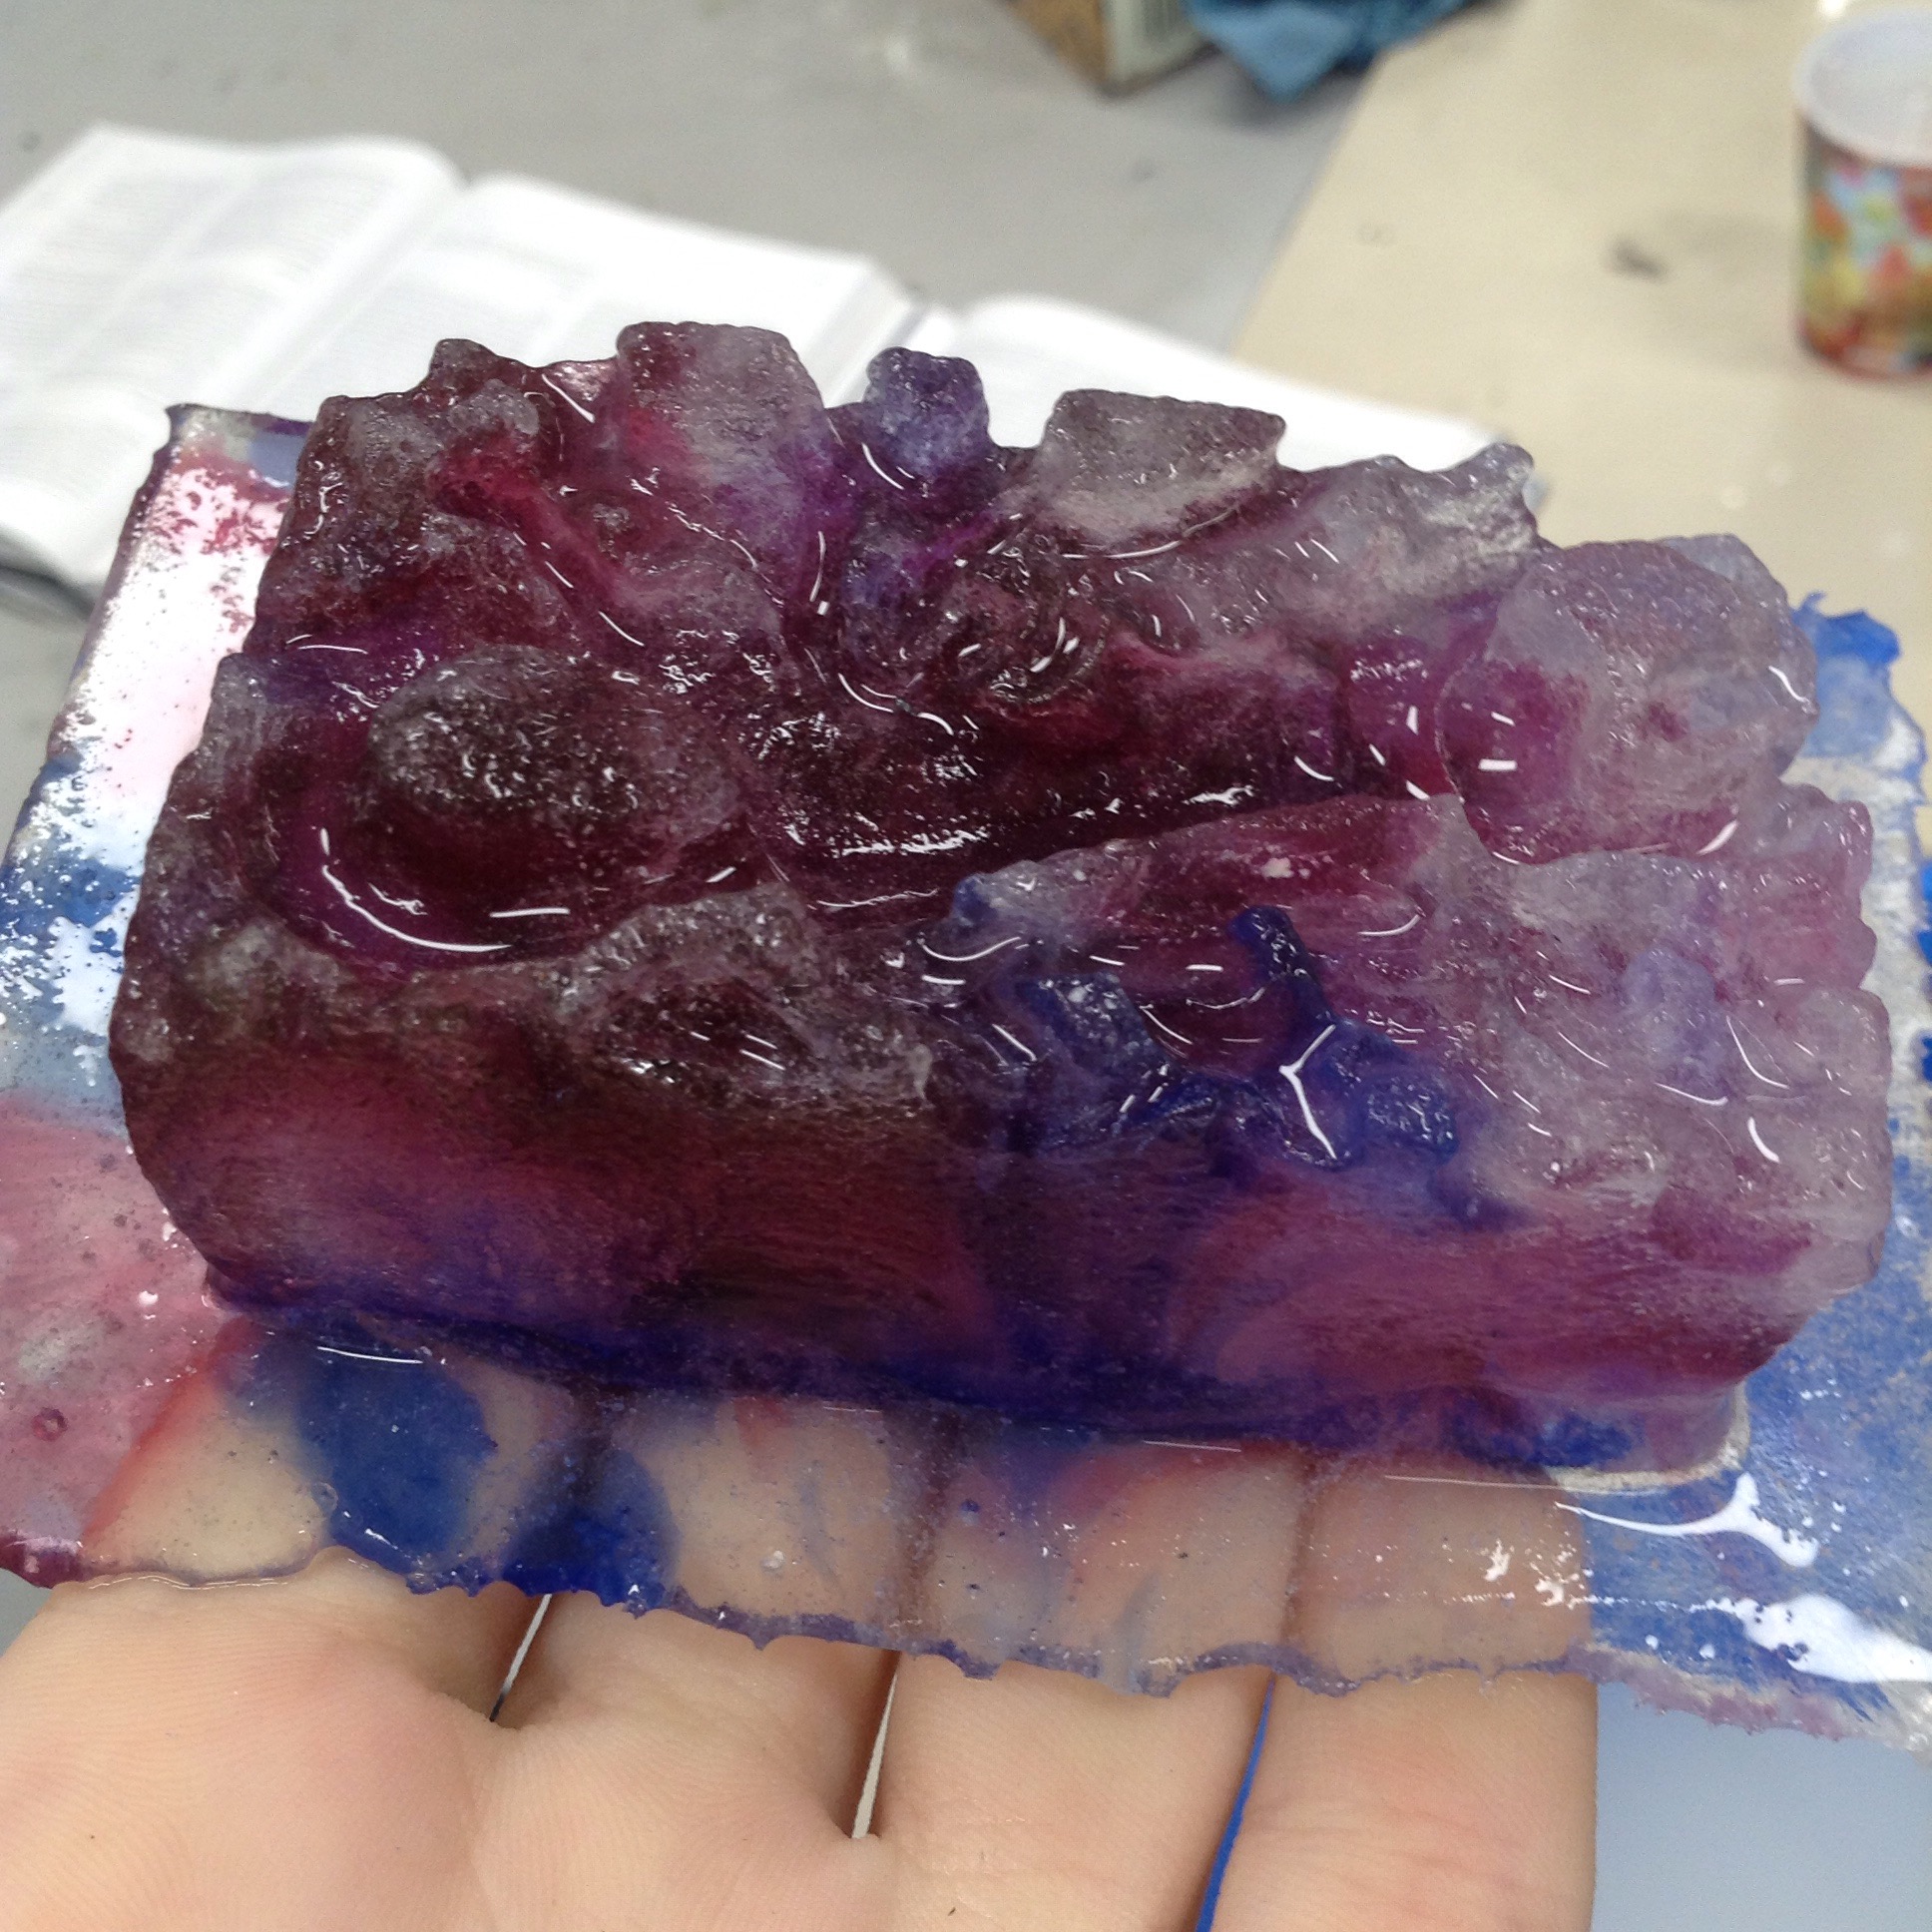
  When mixing the glue I liked playing with its form in the water. Some of the texture boards were based off the leather texture of the lead handle.

Glass workshop: mould making part 2

The second mould was made from built up clay rather than indented foam. 

 Again, it was covered with layers of plaster mix, which as it solidifies becomes easier to shape; though I had to work fast before it set completely. 

 Water was poured into the mould to measure how much glass I needed. When removing the clay I accidentally chipped a bit off the mould, but thankfully it was a part that didn’t matter or notice. 

 Before taking it out of the mould I already knew this piece was going to look better. It also helped that this one wasn’t as deep as the other, so the colours were more spread out; plus I had put more clear glass in. 

 This piece looks really nice holding it up to the light; pity though how hard it is to capture on camera. Both pieces were sanded to remove the sharp edges, though nothing more could be done as the machines weren’t working.

Glass workshop: mould making part 1

Our first glass induction saw us making two different moulds for glass firing in the kiln. 

 The first mould was made by pressing shapes into a block of oasis-like foam. Keeping with my project brief for the other module I pressed the dog lead clip and some of the chain into my block. A plaster mix was then poured over the top forming a mound.

 Once the mould had set I scraped the foam away and used the high pressure air blower to get rid of the remnants. I really like how it looked from this angle, although it was the reverse. I then filled it with shards of different coloured glass and fired it in the kiln. 

 The glass came out much darker than I hoped as there hadn’t been much clear glass left. It also needs to be properly sanded and polished before it’ll look shiny; hopefully that’ll be an improvement.

 I really like the bubbly swirly pattern seen from the underside, it was really hard to photograph though as it comes out quite dark. I’m keeping the thin border around it as that came out quite well – that’s where most of the clear glass went!

Woodworking induction

This was a workshop I was always really eager to go to, despite it being one of the minor workshops in my course (the core workshops being glass, ceramics, textiles and metal).  Our task was to make a whale hook for small things such as lanyards or keys etc. This simple project was designed to cover a range of basic techniques.

 After cutting out the rough shape using the bandsaw I used the disk sander to fine tune the edges, then the pillar drill to drill the indent for the eye. The holes for the screws and hooks were also drilled this way.

 Using the spokeshave to shape the front edges of the whale – at first try I thought I was terrible at it until I discovered the blade wasn’t set correctly!

I loved this induction, it really got me excited about working with wood. It’s also a material that both my parents have worked extensively with; they were organ builders for a number of years and my dad still has a workshop in the back garden. My mum is also good at wood carving and I’ve always been eager to have a go myself; something I intend to do whilst at uni.

Early work

The next few posts will be snippets of my work from the past few weeks before this blog was made.

  I made this maquette of the chain clip using wire wrapped around scrunched up paper. It was very fiddly but I really enjoyed it.

  This maquette was made with cardboard and wire. I chose cardboard because it resembled the leather the dog lead handle was made from.

  This was my studio space closer to the beginning of term. The long white chain was made from a single sheet of A1 paper.

My first brief

 My brief for my first module of Design Crafts is to transform a functional object into something else. I chose a dog lead. This is one of the many initial drawings I produced during one of our first workshops with visiting artist Sara Cooper.